Let’s Eat: Onigiri with U.S.-Grown Jasmine Rice
5:15 PM
Making USA-grown Jasmine rice even tastier, with Onigiri!
Onigiri is a popular three-bite snack in Japan; iconically seen as triangular-shaped rice balls embellished with a rectangular seaweed strip. The onigiri is stuffed with savoury fillings. The rice ball can be seared, rolled in sesame or finished with seaweed. I created three varieties of this recipe using U.S.-grown Jasmine Rice. The rice itself can be prepared plain, mixed with soy sauce or furikake. As for the "filling", this could be anything, but traditionally it's either salted pickled plum (umeboshi) or bonito flakes (the flailing dried fish served on top of takoyaki). Onigiri can be completely versatile and made as you please. I've decided to create onigiri with filling that I would love.
Let’s Eat: Onigiri with U.S.-Grown Jasmine Rice
Makes 122 cups (500 mL) U.S.-grown jasmine rice uncooked
1 nori roasted seaweed sheet
1 tbsp (15 mL) soy sauce
1 tbsp (15 mL) furikake
1 tsp (5 mL) sesame seeds
See below for options for fillings
Step 1: Cook your Rice
Wash rice and cook as per package instructions.Step 2: Prepare the filling
You can go with as many or as few filling assortments as you want, and it doesn't have to be complicated! The filling can literally be anything, from avocado to canned tuna. Just open your pantry and let it inspire you!For my selections of fillings, I went with the following three picks:

- Tuna w/ Wasabi, Mayo & Masago
squeeze of wasabi
1 tbsp (15 mL) mayonnaise
1 tbsp (15 mL) masago
Mix all of these ingredients together. Add wasabi to taste.
- Caramelized Tiny Shrimp
¼ cup (60 mL) tiny shrimp
sprinkle of salt
On medium heat, place sugar in pan and mix as soon as it begins to brown and caramelize. Add shrimp and stir very quickly to avoid clumps. Add a sprinkle of salt to taste.
- Pickled Vegetables & Seasoned Egg
Salt & pepper to taste
3 oz (80 g) packet of Chinese pickled vegetables
Whisk two eggs in a bowl and season with salt and pepper to taste. On medium heat, cook egg into a circular omelette. Cool on a cutting board and slice. Slice or dice pickled vegetables. Mix the egg and pickled vegetables together.
Step 3: Creating Onigiri
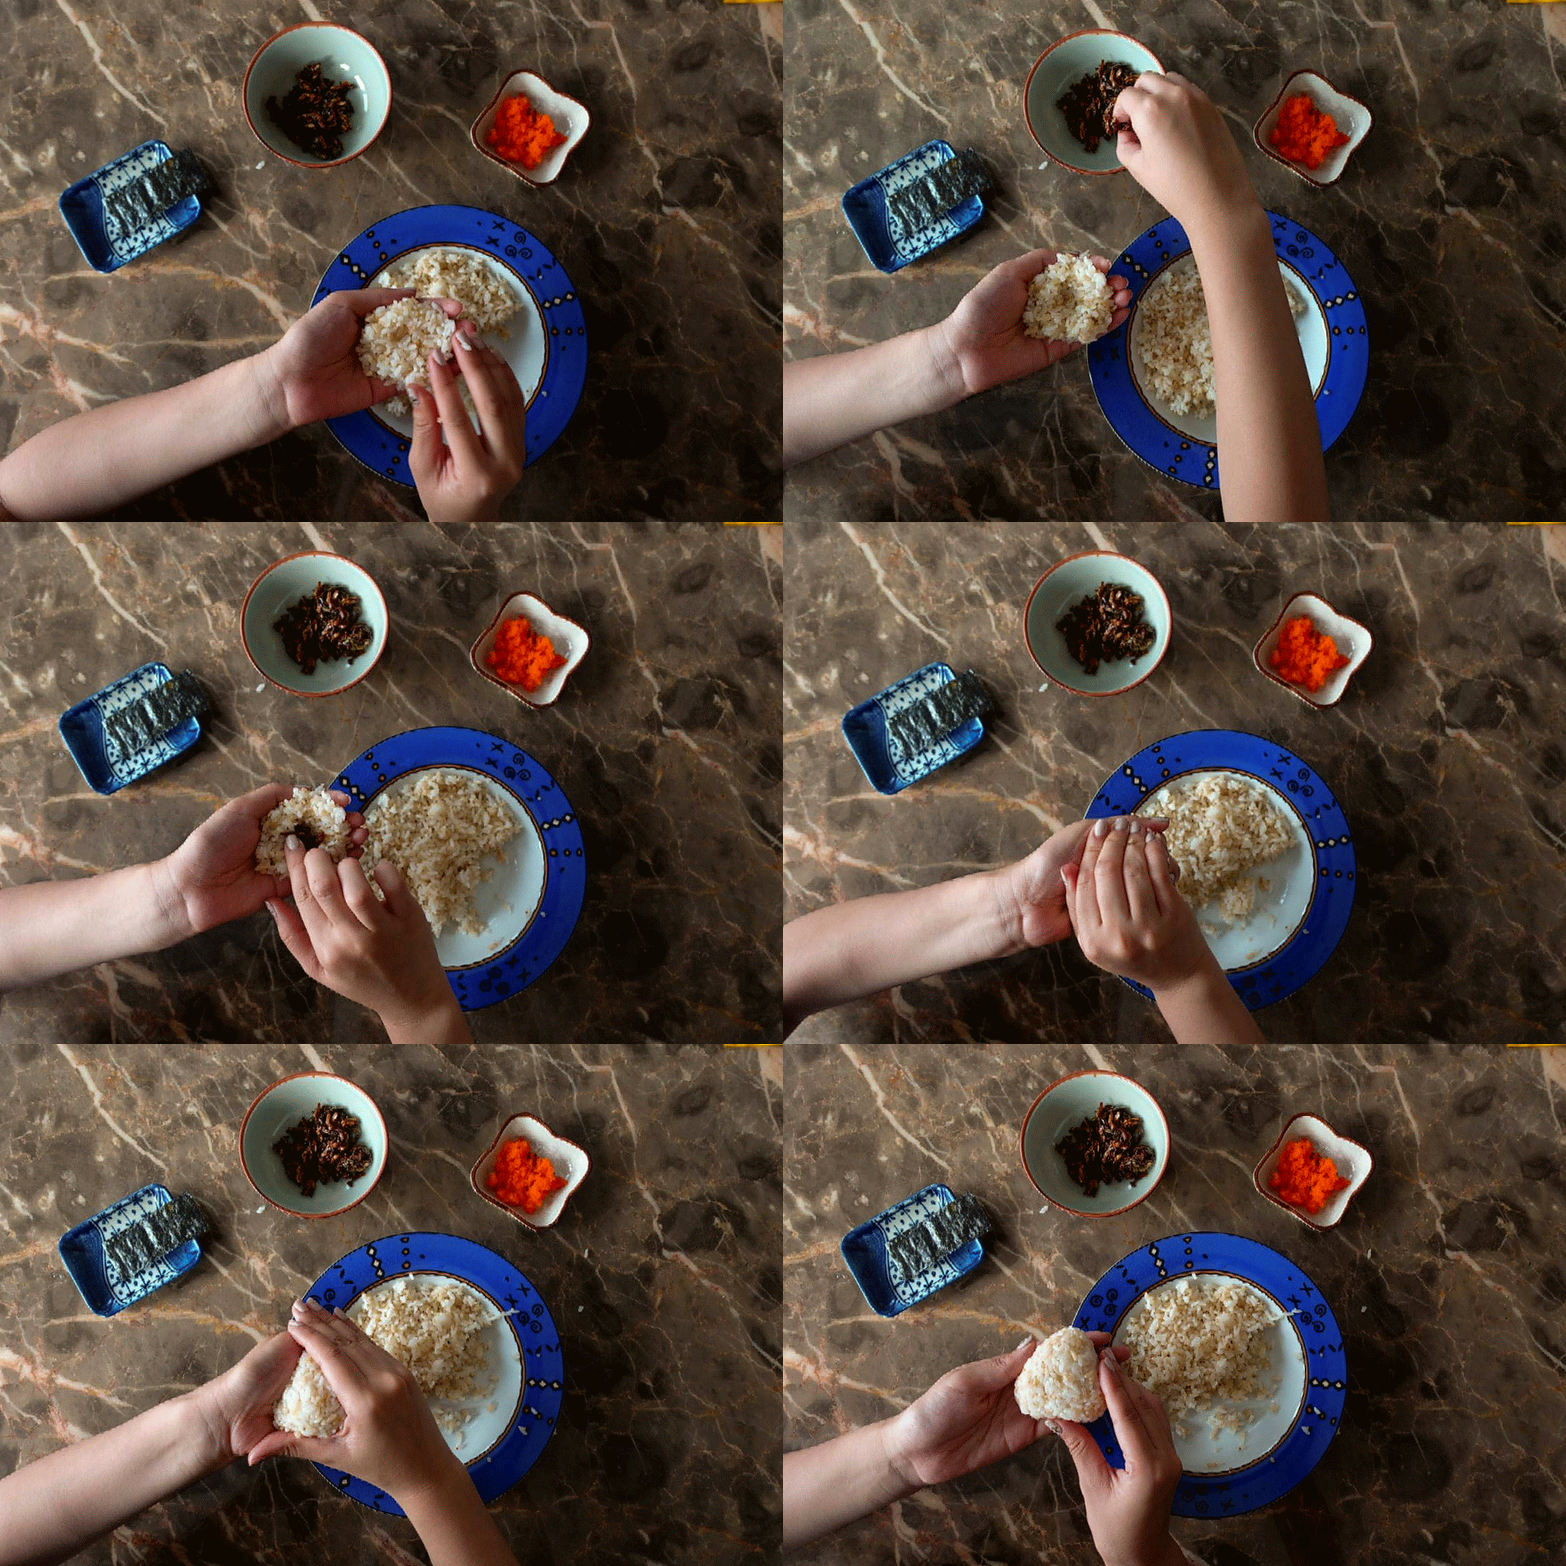
(see gif for step by step hand action):
- Take some rice and pack it into your hand.
- Make a finger dent reaching ½ of the depth.
- Fill with your selected filling.
- Take the same amount of rice and pack it on top, like a sandwich.
- Form into a ball, and then into a triangle shape.
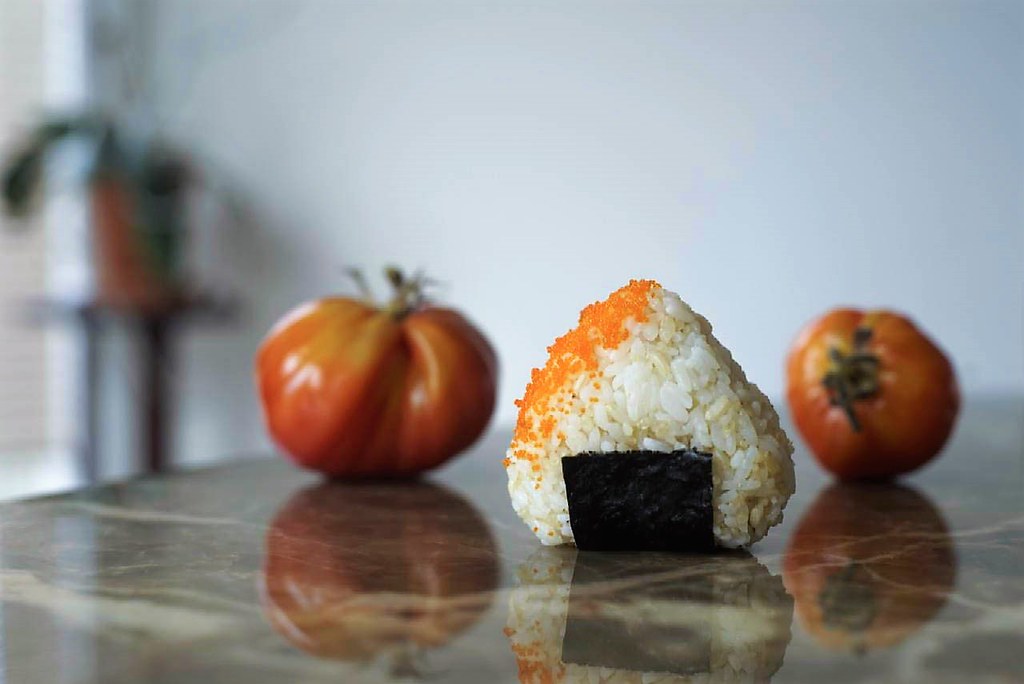
- Place seaweed strip and firmly wrap around the base of your onigiri, 'glue' with water if necessary. If no seaweed is used, simply sear it or roll the onigiri in your favoured topping: roasted sesame seeds, masago (like below) or furikake


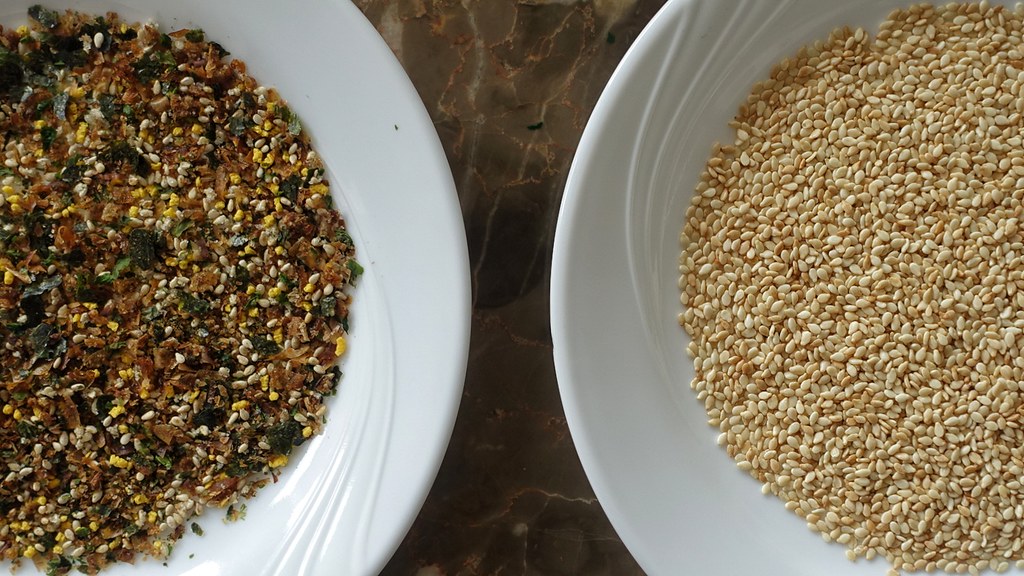
- Furikake & Roasted Sesame Seeds
Step 4 (Optional): Go That Extra Step, Sear.
1 tsp (5 mL) Korean bean paste2 tsp (10 mL) oil
¼ cup (60 mL) green onions
1 tsp (5 mL) water
Start with a teaspoon of bean paste at a 1:2 ratio to oil. Add in sliced green onions to wilt, then add in a few dribbles of water at a time to thin out consistency. Brush the mixture onto both flat sides of the onigiri. On medium heat, sear both sides for 1-2 minutes.

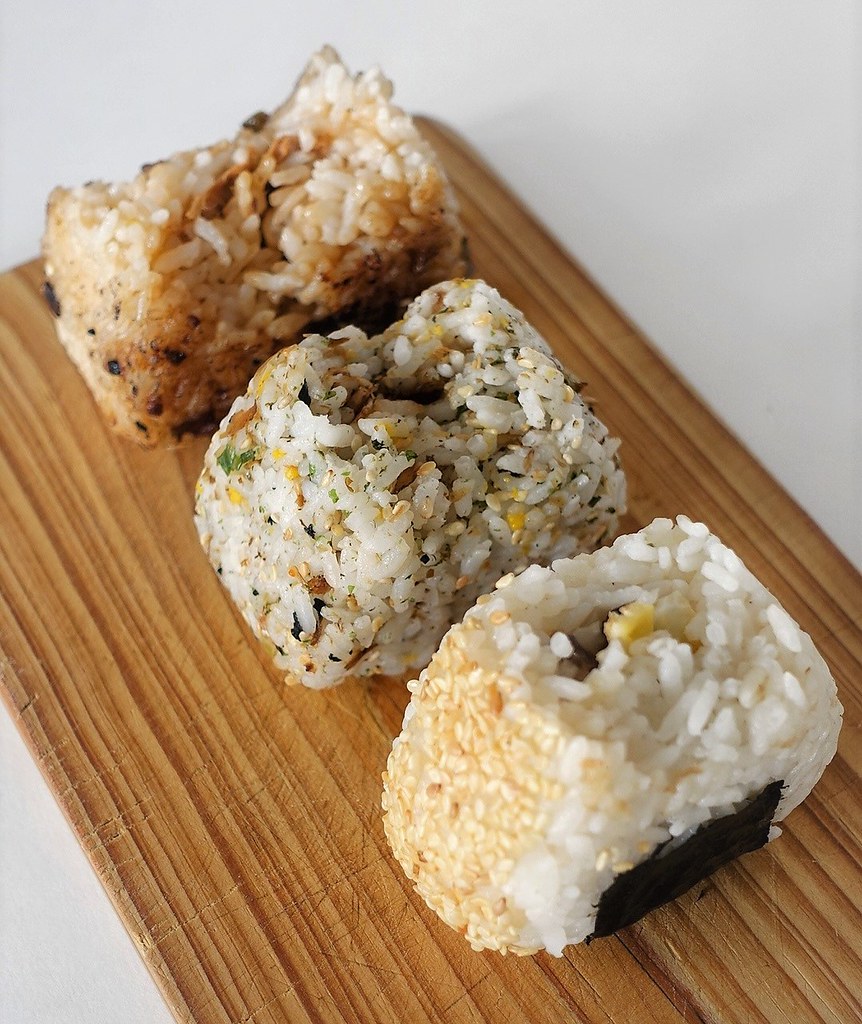
Onigiri 3 Ways: Seared Furikake-mixed and seaweed-wrapped.
Onigiri-Making Tips:
- Let rice cool to touch, spread out 1-2 cups of rice at a time on a plate before you go to meddle it with your hands. Beware: Work with small batches of rice at a time, if the rice is left for too long it may dry out and harden.
- Protect your hard work, keep each newly made onigiri in a container or sealed with plastic wrap to avoid the rice from drying out.
- Do it in bulk, cut seaweed strips at the same time to maintain consistency in shape.
- Moist hands are key, keep a small bowl of water on the side to dip your hands in occasionally. Wetting your hands will prevent rice from sticking to you and ease the onigiri-shaping process.
- For all onigiri failures, feel free to place all of it in a bowl and eat it on its own with some extra furikake - you deserve a break.


0 comments